ScottRodder.com | home
Editor's Page | 1964 Catalina | 1955 Ford F100 | '73 El Camino | '89 Cheyenne | 1932 Chevy Coupe | Future Projects
1932 Chevy Coupe
--------------------------------------------------------------------------------------
June 2003
--------------------------------------------------------------------------------------
IT'S ON THE ROAD!!!
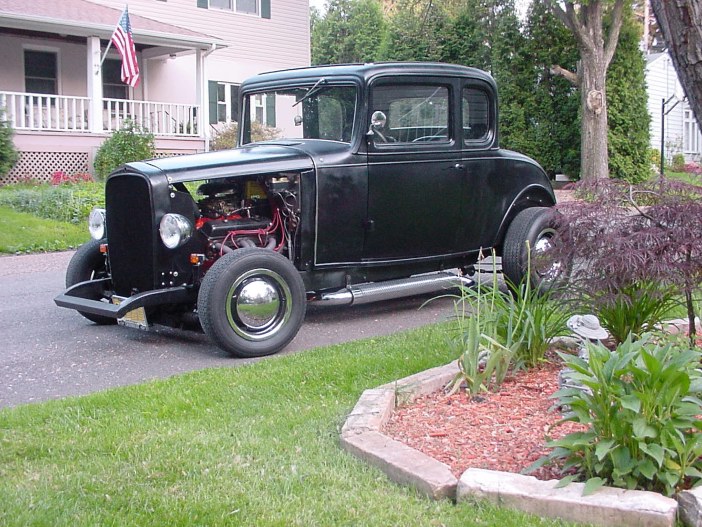
During the remainder of 2002, I installed the glass, hung the doors, and layed down the vinyl top. Last month, after making sure that everything was mechanically sound, I put the car on insurance and registered it.
It rides great !!
I'll spend the rest of this Summer getting the body ready for some fresh coats of black lacquer. I'll also add some chrome to the engine and perhaps a little maroon naugahide for the interior...
---------------------------------------------------------------------------------------
May 2002
---------------------------------------------------------------------------------------
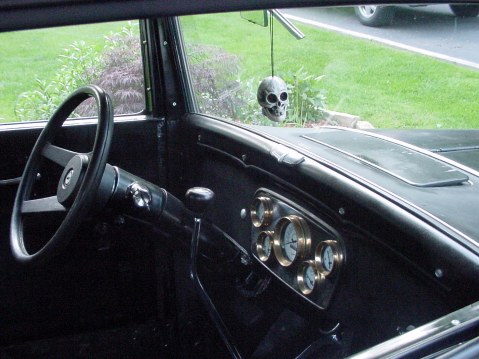
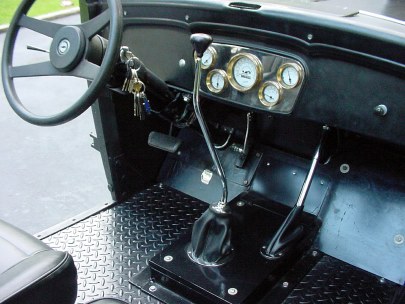
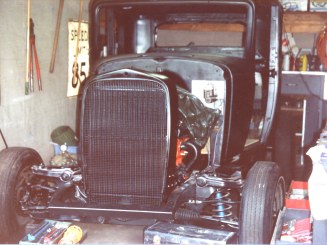
Over the past several months, I managed to install the diamond plate flooring, the gas pedal and the seats. I also installed a hood over the engine, which was salvaged from the two upper panels of the original four piece assembly.
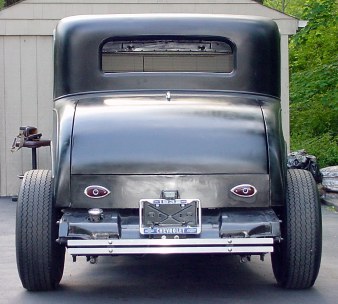
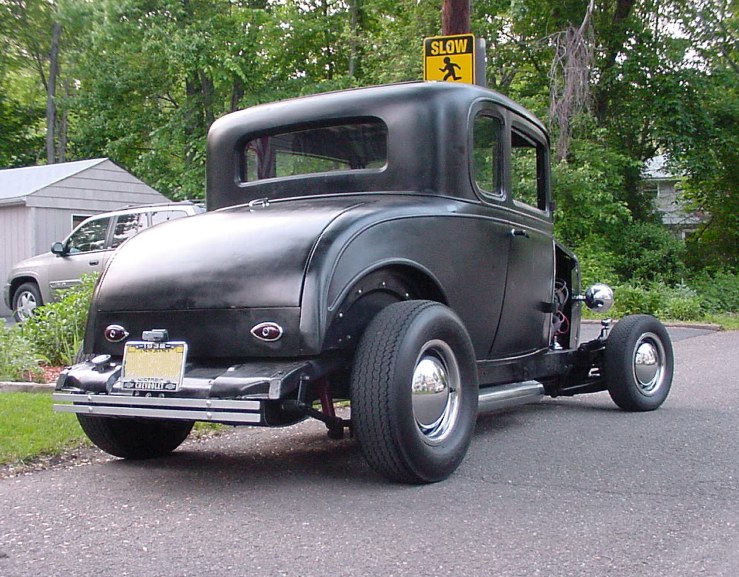
The rumble lid was installed "as is" although I don't plan on putting in a rumble seat.
The taillights are '39 Ford with blue-dot inserts.
The rear 'bumper' was made from two lengths of 1" wide aluminum.
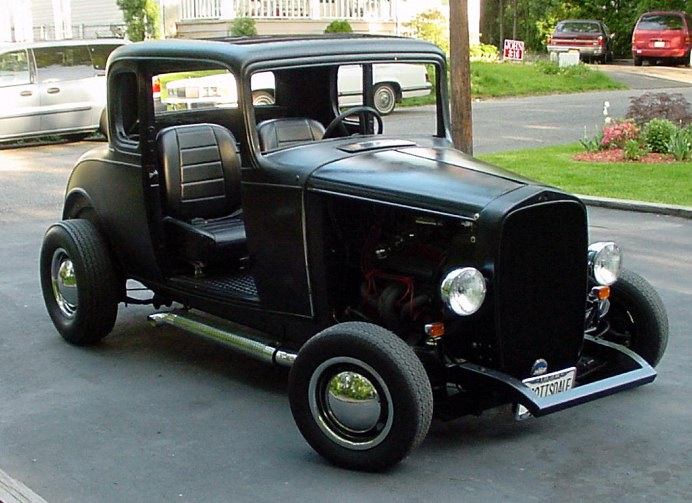
Baby-Moon hub caps (with trim rings) and a set of chrome side pipes add a nice touch....

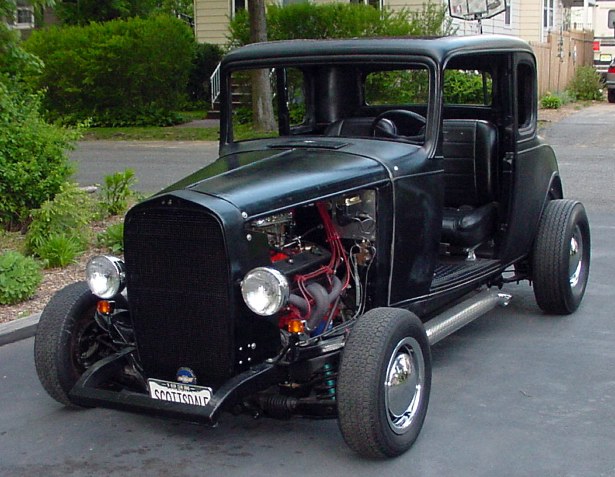
The engine compartment still needs some detail work.
===========================================
=============================================
Spring 2001
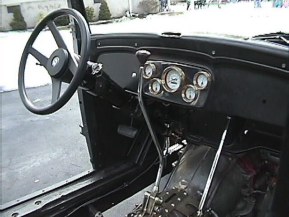
These pictures of my '32 Chevy Five-Window Coupe were taken in February 2001. The first major item for me to attack is to put down some flooring, so that I can install the bucket seats and hook up the gas pedal. I'll start by cutting a floor panel out of a sheet of 1/8" thick diamond plate, and I'll trim around it with oak boards and smooth (finished) plywood.
 |
 |
 |
 |
================================================
From Square One...
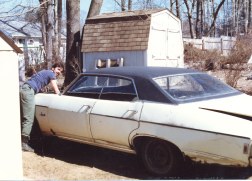
In November 1985, I purchased the empty body shell of a '32 Chevy Five-Window Standard Coupe, which (since the late 1960's) had been stored-away in a garage loft . With the stripped down body I received two (unattached) doors, a rumble seat lid, a radiator shell and a few interior items. A bare '32 Chevy chassis-frame was also included in the deal. With no suspension or drivetrain parts installed, the frame basically consisted of a pair of parallel steel rails -- that were held together by three (riveted) cross members.
 |
Work on this project began when I overhauled the frame. First, all of the old rivets were drilled out, and the cross members were removed and refurbished. Boxing plates were then welded to the inside of the rails, and during reassembly, additional cross members were installed, including the mounting supports for a Mustang II Independent Front Suspension (IFS)
|
I acquired most of the suspension and drive train parts for this car by playing grave robber on a few junkers. I pulled a 327 small-block and a powerglide transmission out of a '69 Impala.
I acquired a Ford 8" rear axle from a '77 Maverick. A 1977 Ford Pinto provided me with the Mustang II (type) IFS parts, which included coil springs, a rack and pinion unit, control arms, disc brakes and other associated hardware.
|
 |
 |
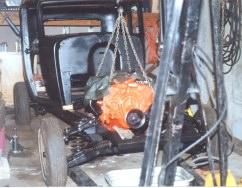
Before I overhauled the 327 small block and powerglide transmission, I manufactured a set of front and rear mounts, and sized everything up to ensure proper fit on the frame.
|
Next, a rolling chassis was assembled by installing the (refurbished) Mustang II / IFS, and Ford 8" rear axle onto the frame. The Coupe body was then mated to the chassis (after the rebuilt engine and transmission were set in place).
|
 |
 |
After all of the major pieces were put in place, the next chapter involved installing:
1) Equipment and associated plumbing / wiring for the electrical, fuel, exhaust, brake, and engine cooling systems
2) The steering column (with connecting linkage to the rack and pinion unit).
3) The powerglide shifter and emergency brake lever with associated linkage / cables.
|
The completion of this car was put on hold several times over the past 10 years, because (unfortunately) I was confronted with many other commitments that took a higher priority .
Keep in mind that all my other street-rod projects (as seen on this website) were just a dress-rehersal for this one. Without a doubt, the work that went into this machine was unrivaled by anything else that I had done previously.
There is much left to do before this car hits the road, so keep in touch, stop by to visit, and bear witness,
as I finally finish this ultimate challenge!